

Silica Gel Drying is a technique is used to dry samples for genotyping when labs may not have a lyophilizer.
Silica Gel Drying Protocol
Please feel free to reach out to bi-science@ufl.edu with any questions regarding this protocol. We are happy to assist you with any aspect of your project.
Suggested Supplies
- Tissue collection kit
- Components of the kit may vary depending on vendor recommendations and personal preference, but may include permanent markers, 3-6mm hole punch depending on species and vendor requirements, ethanol, nitrile gloves, tweezers, kim wipes, container for ice for storing samples during collection, etc.
- Tissue collection plate maps for tracking samples
- Tissue collection plates – These will change depending on the vendor, so make sure to check for specific plasticware requirements.
- Optional – A small box of silica to hold strip tubes while collecting
- Cheesecloth forms and silicone mats. The forms in photo 3 were handmade with cheese cloth, tape, and the plastic wafer inserts from empty pipette tip boxes. The wafer from a p1000 box works best.
- Sterilite [8.5x12x3” =16 cups] or Snapware [10x8x4.5” =18.5 cups]. 3- 4 plates fit comfortably in each) – or similar containers. The container needs to be able to form a good seal ie: air-tight – the plastic or rubber gasket provides a good seal.
- Silica mix- a coarse grain, color-changing gel is recommended. Finer grain gel will get through the cheese cloth and contaminate your samples. Vendors such as VWR, or Amazon have good options.
Step 1: Ready your supplies
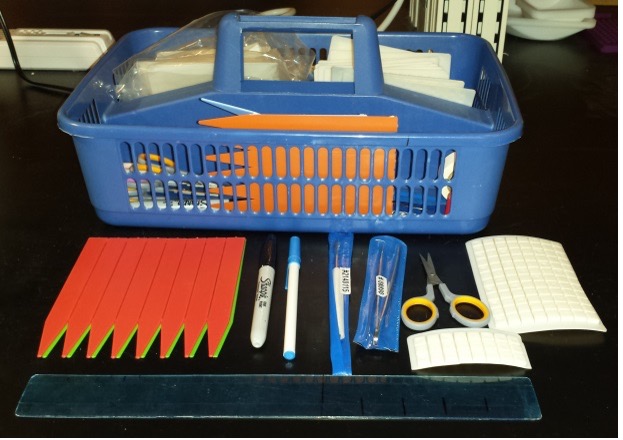
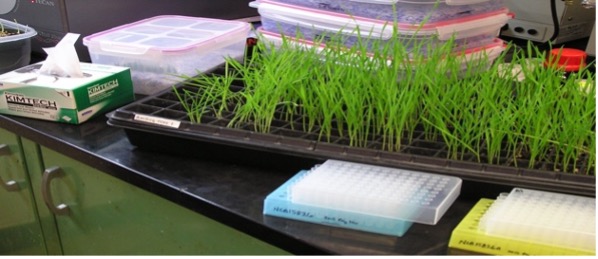
Keep in mind that many genotyping projects rely on plasticware that has specific recommendations from the vendor. Using plasticware that is not the one recommended from the vendor could greatly delay any results and may mean sampling will need to repeated. Many vendors have plasticware recommendations listed on their website or in their protocols that they send out to customers. For a list of DArT approved plasticware, please visit the BI Resource Hub (insert link).
Using a tissue collection kit is a great way to ensure that you have all of the supplies necessary for proper collection. (See photo right.)
Step 2: Prepare & Collect Samples
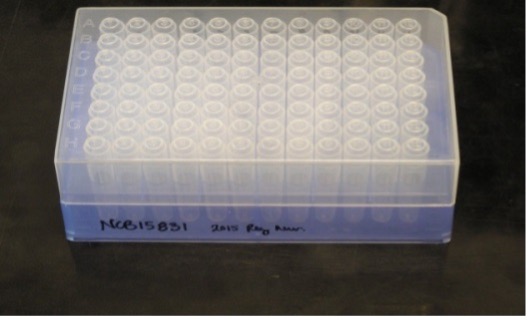
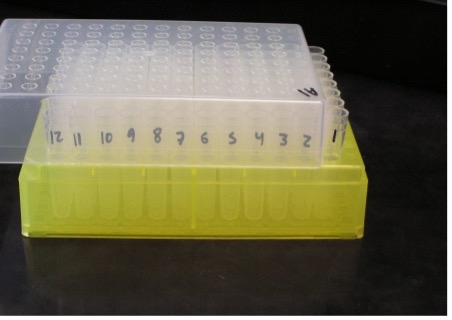
Ensure that you have the correct plasticware for your specified vendor. It’s better to double check than send in the wrong kind of plate and risk increased costs or repeating sampling. Once you have the correct supplies, make sure your collection plate has A01 in the upper left with the notch in the upper right. The label should be in the front with the numbers on the A-side of the tubes. You should sample A01, B01, C01 to keep samples well organized and to make documentation easier.
*Optional* – Use a smaller container to hold the strip-tubes as you collect.
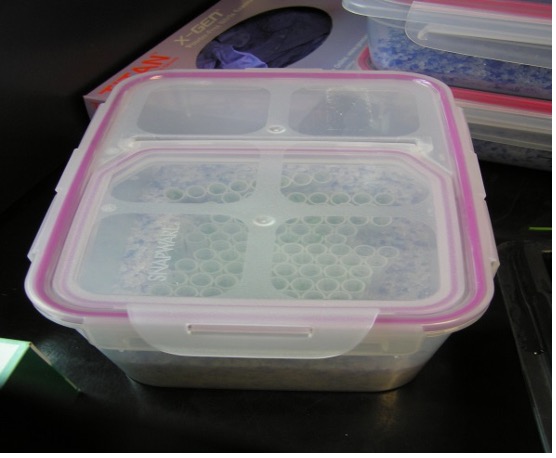
Step 4: Prepare the Desiccating Containers
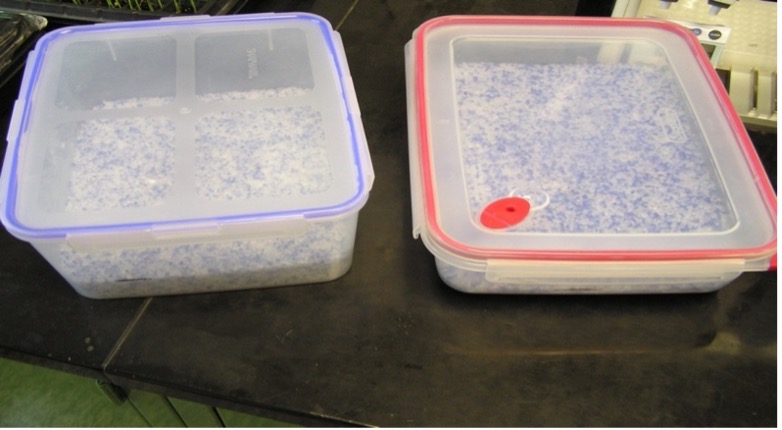
Prep the desiccating containers with about a liter of silica. There should be enough room in the container to fit the plates and be able to snap the lid shut to seal out any other air or moisture.
Step 5: Cover the Plates with Cheesecloth
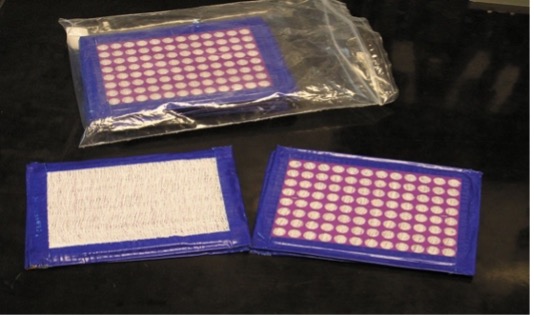
The forms in these photos were handmade with cheese cloth, tape, and the plastic wafer inserts from empty pipette tip boxes. The wafer from a p1000 box works best. Cheesecloth forms for use during desiccation of tissue – align the plastic form on the tubes.
Step 6: Covering the Plate
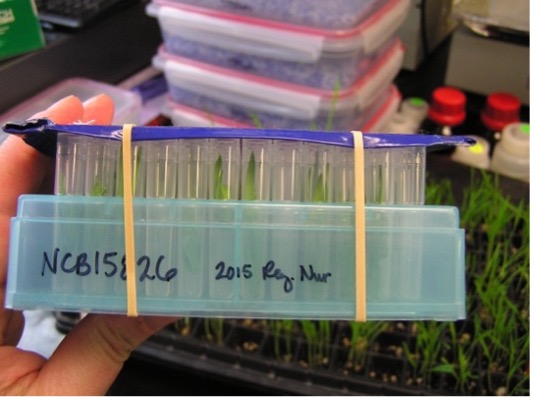
Place the supplied cheesecloth form on top of your collected tissue plate with the purple plastic side against the top of the tubes and secure tightly with two rubber bands. Be sure to align the holes in the plastic with the tube opening.
Step 7: Add the Plates to the Containers
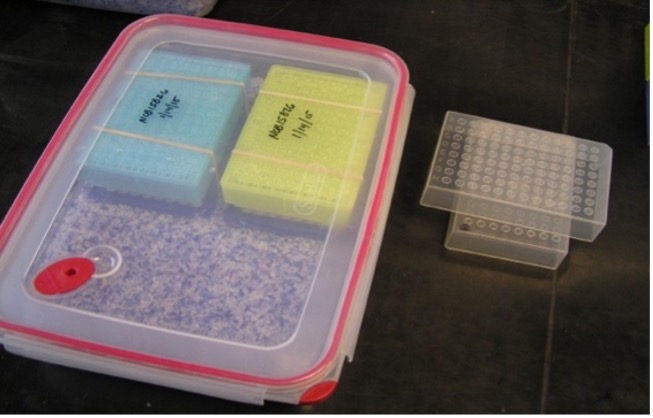
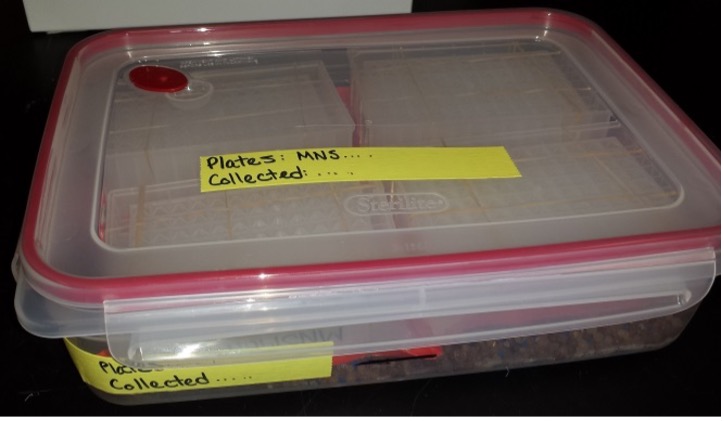
Place the finished plates upside down on the silica so the cheesecloth is in full contact with the silica mix. Be careful as any shifting of the plate can cause the cheesecloth to not line up with the tube openings. Seal the top of the storage box and label the top and/or sides with the plates included and date collected. Keep the clear cover handy as you will need them for the return shipping of the plates after they are dry and capped. 3- 4 plates will fit in the 16 or 18 cup boxes.
Step 8: Drying the Tissue
Use a coarse, color-changing silica gel to help indicate when the tissue is sufficiently dried. A finer silica gel will contaminate the samples very easily, even with the cheese cloth. If the silica has completely changed color before 2 days, replace the silica.
Check the plates after 2-4 days, the tissue should be somewhat smaller and dry
VERY IMPORTANT INFORMATION to READ BEFORE removing the cheesecloth:
- The tissue can stick to the cheesecloth – be gentle with the plate.
- After taking the plate from the silica box, turn it right side up and whack it a few times on the bench top to settle the tissue.
- Carefully remove the rubber bands and then gently lift the edge of the cheesecloth while peeking under at the tops of the tubes.
- If you see any tissue sticking, you can reach in with some forceps and help the tissue back down into its tube.
- If you rip the cheesecloth off – you may lose your samples.
Please feel free to reach out to us a bi-science-team@ufl.edu with any questions. We are happy to assist you in your genotype sampling process.
Step 9: After the Tissue is Dried
When tissue is dry and the cheesecloth removed, cap the tubes, replace the plate lid, and add a couple of rubber bands to each plate. Be sure that all plates are clearly labeled. You can now store the samples at room temp in a dry, dark place, OR ship to the genotyping vendor.
After removing the tissue plates, dry the containers without the lids in an oven ~65ºC to dry out the silica – let it cool a little after the oven and then keep them sealed in a cool, dry location until needed. Or the silica can be kept in a well-sealed plastic bag.